It's funny how these fabric flowers keep popping up in my life. :) These are too cute not to share! So as promised, here is another tutorial.

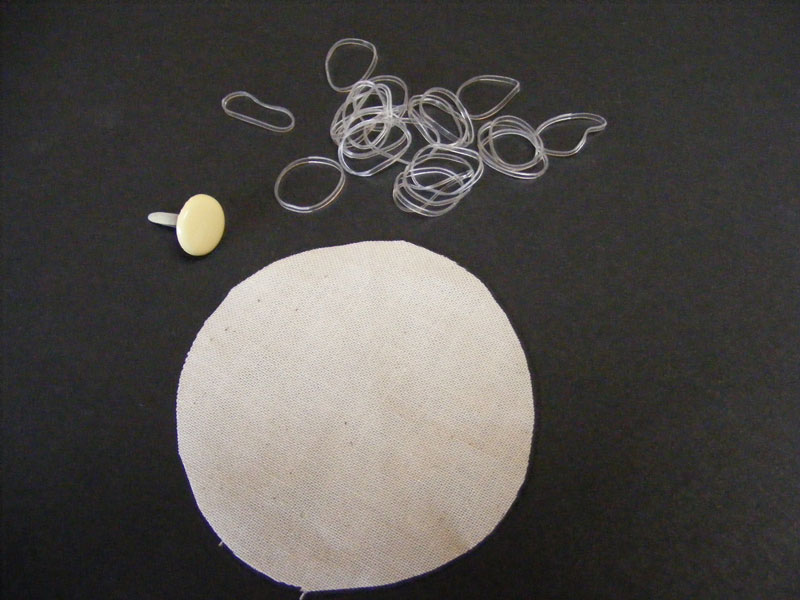
Start with a 3 1/2" fabric circle and a tiny rubberband (made for little girls' ponytails):

Find the center of the circle and gather it up. Then place the rubberband about half way up:

Snip the end off:

Lay the flower out flat, creating a double layer:

Attach a medium sized brad through the hole in the center. Rough up the edges of the fabric with your fingers. I ironed my flower so it would lay flat. Super cute!

Here's an easy variation...Cut a 2 1/2" fabric circle. You will also need a brad (I used a larger one) and a tiny rubberband:

Place the brad in the center of the fabric circle:

Fold the fabric around the brad and wind the rubberband around it from the outside:

Flatten out the circle, rough up the edges, and iron . These are fun to leave as is or to add some color with Glimmer Mist:

Enjoy!

 Papers: Graphic 45, My Mind's Eye; Journaling Card: My Mind's Eye; Die Cuts and Cork: QuicKutz; Filmstrip Ribbon and Memo Pin: Tim Holtz; Heart, Photo Corner, and Scalloped Circle Punches: EK Success.
 These little memo pins are one of my new favorites and the filmstrip ribbon adds a fun bit of flair.
 I asked the kids to do the journaling and write what they love about their Dad. I think it's so fun to include them in documenting our family memories. How priceless is that handwriting...misspelled words and all!
 It's easy to find pennants/banners anywhere you look in the crafting world right now, so I thought it would be fun to include a miniature version here. A diamond punch comes in really handy for that.
 We all know how entertaining it is to play with bubble wrap. But did you know you can stamp with it as well? That's exactly what I did to create the subtle background pattern shown here. Give it a try! You'll love it!