

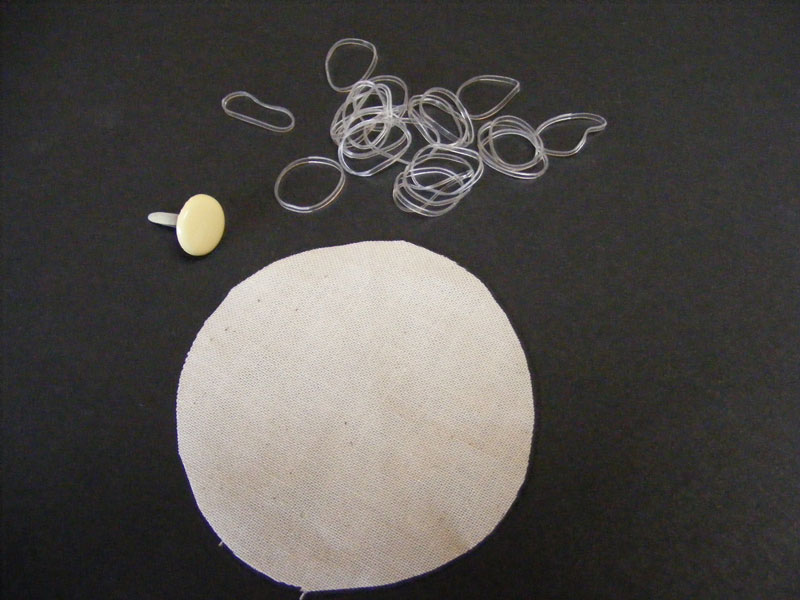
Start with a 3 1/2" fabric circle and a tiny rubberband (made for little girls' ponytails):

Find the center of the circle and gather it up. Then place the rubberband about half way up:

Snip the end off:

Lay the flower out flat, creating a double layer:

Attach a medium sized brad through the hole in the center. Rough up the edges of the fabric with your fingers. I ironed my flower so it would lay flat. Super cute!

Here's an easy variation...Cut a 2 1/2" fabric circle. You will also need a brad (I used a larger one) and a tiny rubberband:
Place the brad in the center of the fabric circle:

Fold the fabric around the brad and wind the rubberband around it from the outside:
 Flatten out the circle, rough up the edges, and iron . These are fun to leave as is or to add some color with Glimmer Mist:
Enjoy!


No comments:
Post a Comment