Day 5 was learning how to use Textures. Seriously, how can I ever print a normal picture again? There are the coolest textures and brushes...well basically EVERYTHING you could imagine out there is cyberspace for free or for sale. And I am IN LOVE with textures!
Here's what Taylor and I came up with together on this photo of him and his little brother...
BEFORE:
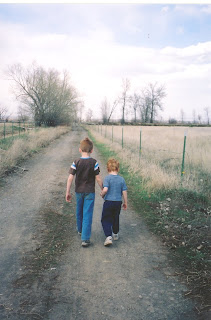
AFTER:
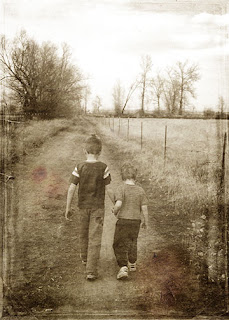 Is that cool or what??? I started out by changing the photo to black and white (yes, black an white!) and then adding 3 textures over the top of each other. Lost and Taken is a great website to download free textures.
 Here's another with the addition of a frame designed by Jessica Sprague...
BEFORE:

AFTER:
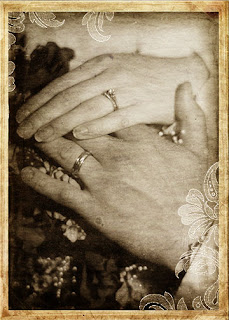
Then I just started playing around and having fun with brushes AND textures (I know, wild, isn't it!) :)
This was kind of a funky photo to start with. My brother took a picture of his son looking at his reflection in the faucet of the bathtub. All the better to grunge it up, right? I downloaded a whole bunch of cool brushes from here. That's where the butterflies and corner came from.
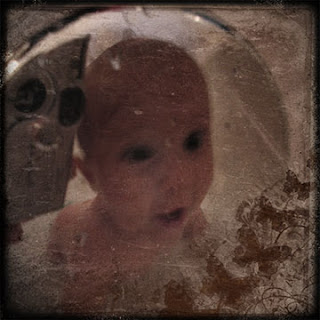
Text brushes are one of my new favorites...
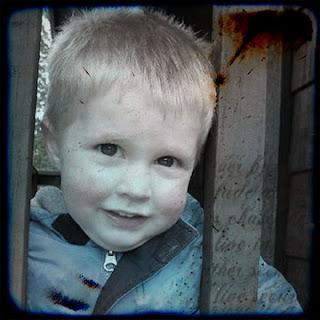 Oh! I nearly forgot...Have you ever heard of TTV or Through the Viewfinder? I hadn't until taking this class. Photographers take a photo with their camera pointed through the viewfinder of a 2nd old camera to get the cool "distorted, square with black edges and rounded corners look." Check out this Flickr group to see what I mean. For those of us who would like to take the easy way out, there's a texture for that. Oh yeah! The two photos above use some TTV textures that Jessica found on Flickr for us.
 I saved the best picture for last. (At least in my opinion). I snapped this photo at my Grandparent's place at the lake. I desaturated the color, then added 3 texture layers. I hand-tinted the part of the lake back in that was peeking out of the trees. Next I added some text brushes in the bottom corners. It sounds like a lot of work, but it only took me about 5 minutes.
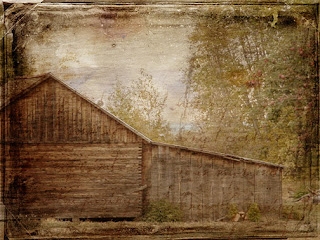 So am I a geek or what? I feel like I'm the last person to learn Photoshop, so I'm probably telling you all something you already know. I'm just exited that I'm finally learning something! Thanks for letting me share!





No comments:
Post a Comment